
Using the Tasks Board

Overview

The task board is a great way to visualise the status of each of the project’s sub-tasks. It also provides the user the ability to easily move tasks between each of the status fields which will automatically update the status of that task. Moreover, the “view” can be changed to show tasks on the task board that are only your tasks or “All” tasks depending if you want visibility of your responsibilities or the tasks from the project as a whole.

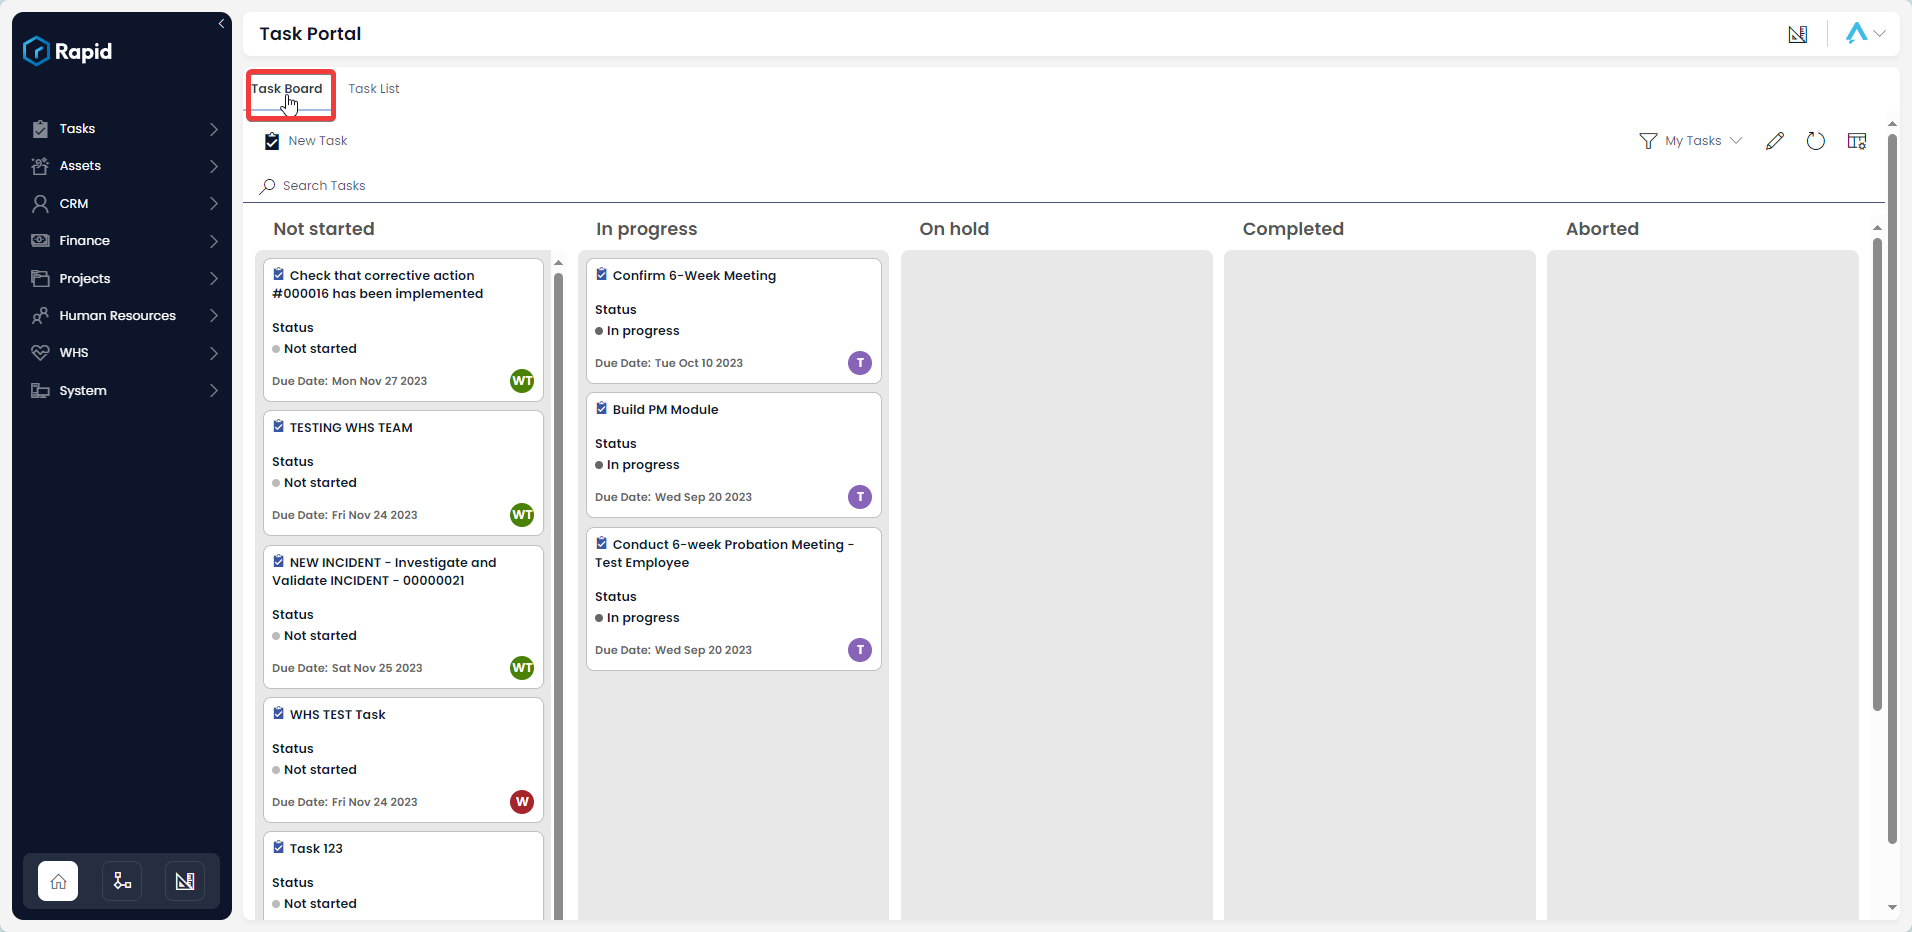
Accessing the Task Board

  1. On the sidebar select Tasks > Task Portal

A screenshot that shows how to navigate the sidebar to get to the Task Portal. The user has clicked "Tasks" and then "Task Portal" The screenshot is annotated with a red box to highlight the location the required menu buttons.

  1. Select the Task Board tab

A screenshot that demonstrates the location and appearance of the Task Board tab. The screenshot is annotated with a red box to highlight the location the tab.

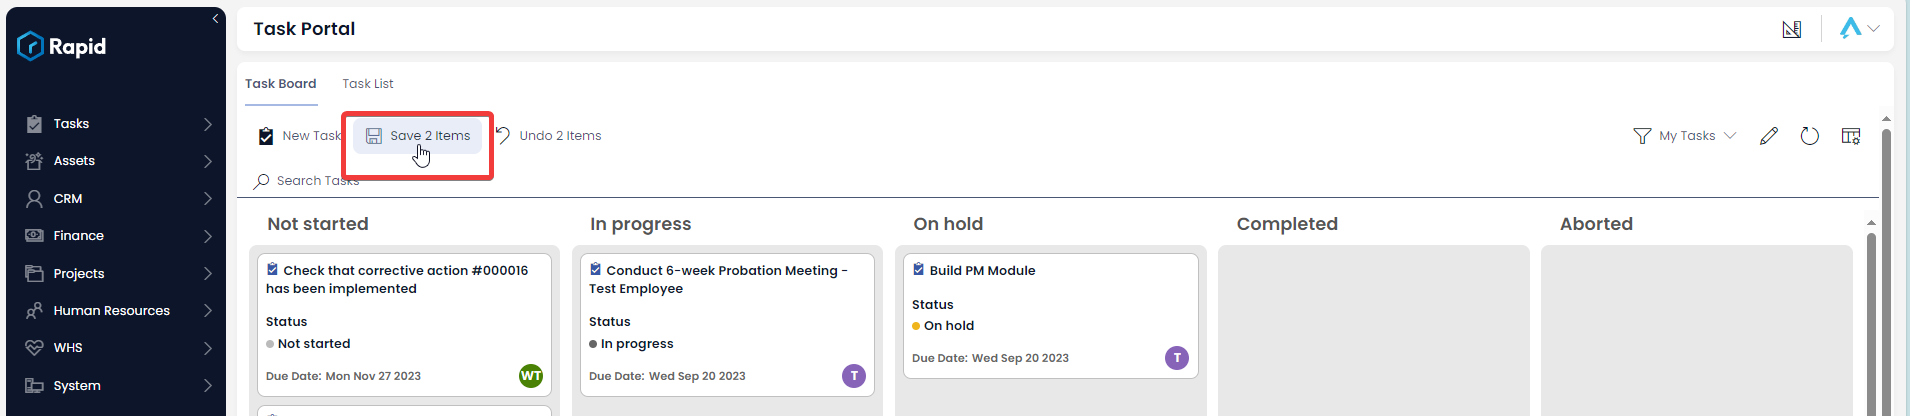
Moving Items between status categories

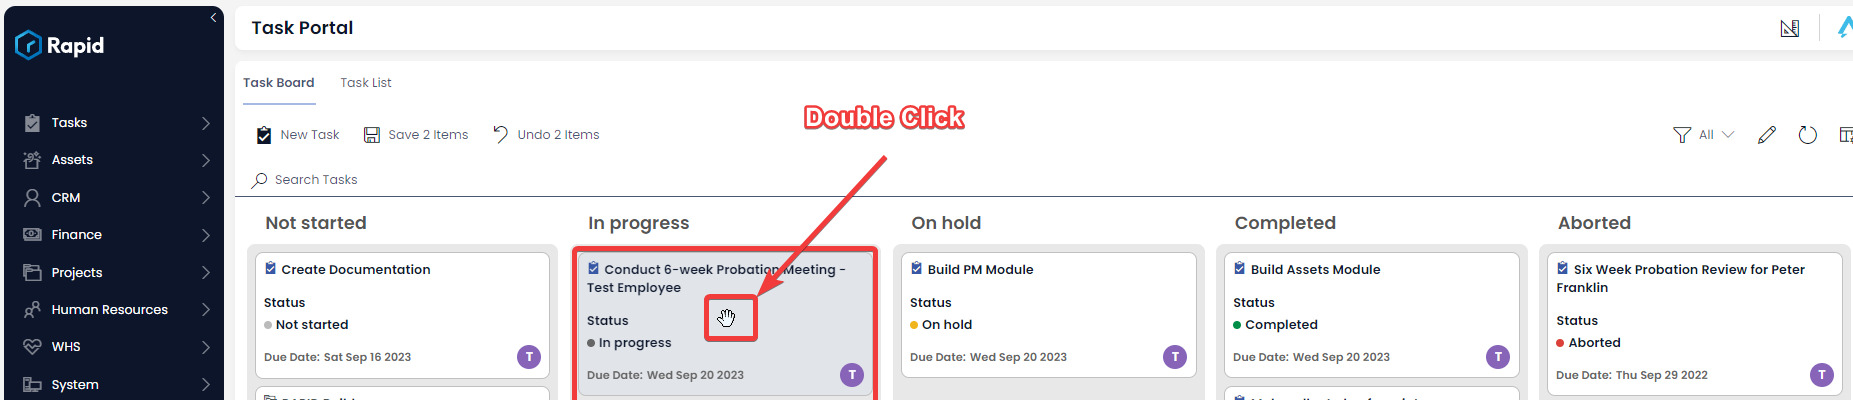
  1. Click and drag the task between columns. (This will update the status of the task from the column it started on to the column you “drop” it in)
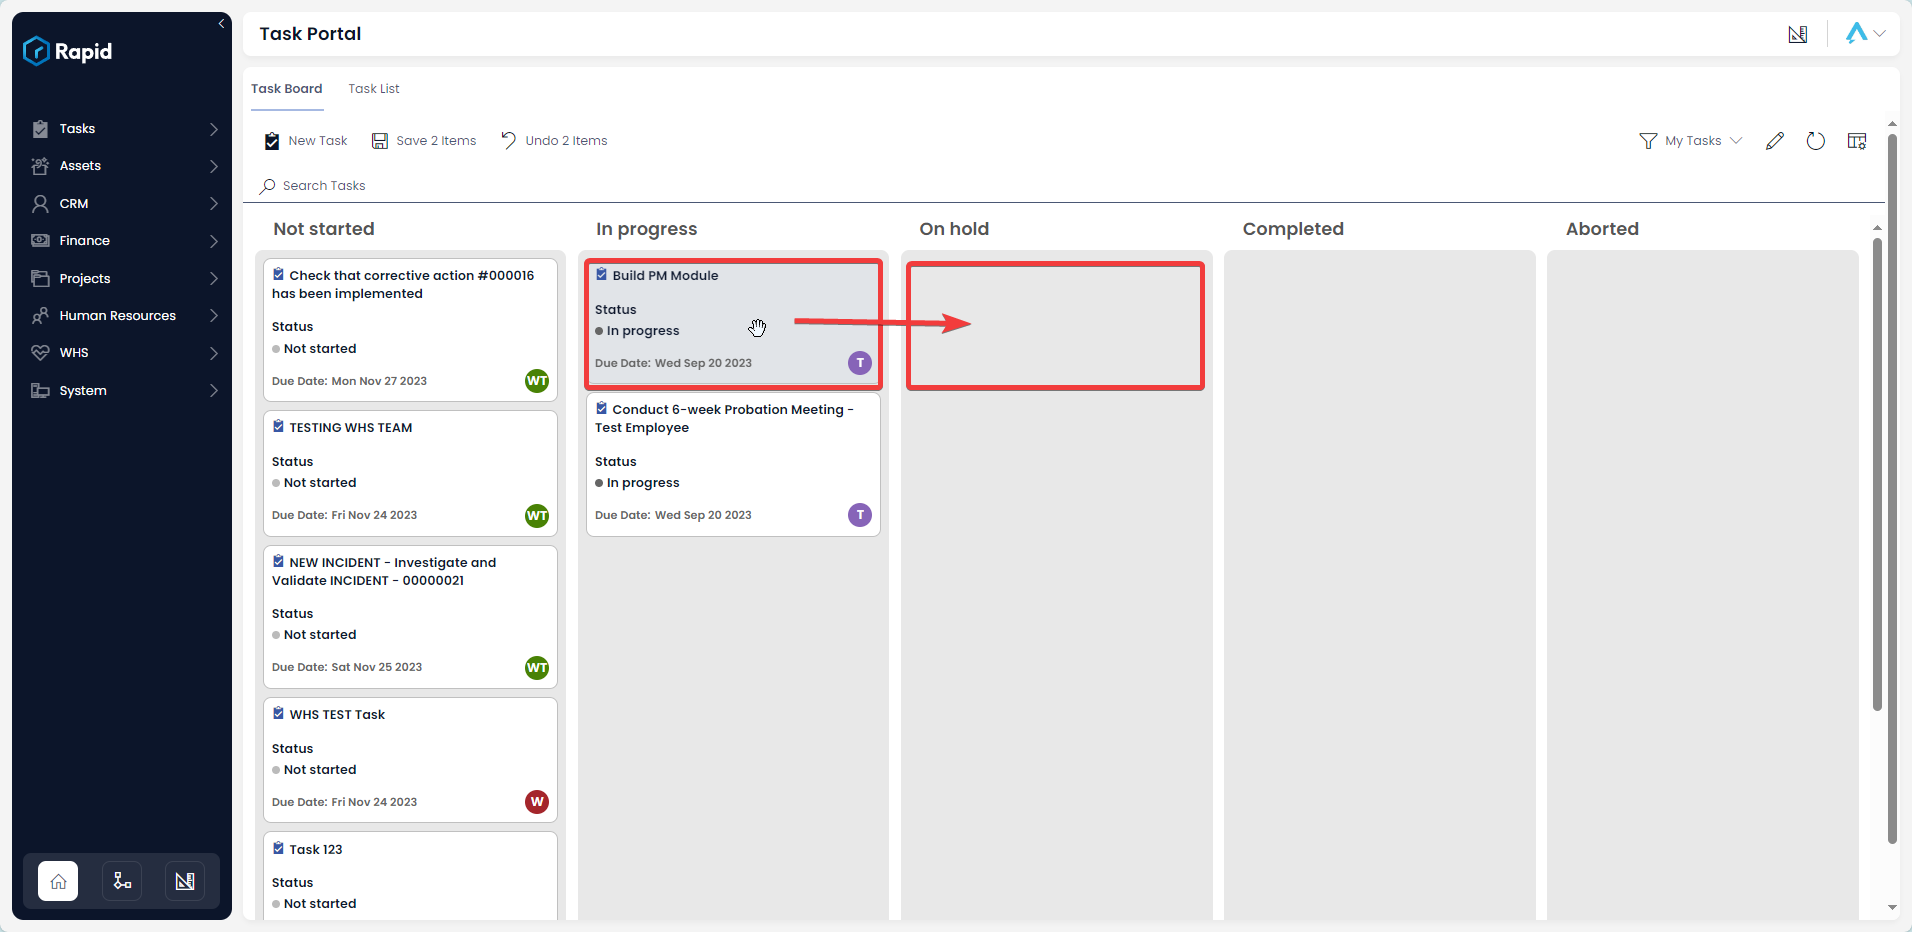
A screenshot that demonstrates how to drag a card from one column of the board to another. The user has grabbed a card titled "Build PM Module". The screenshot is annotated in red to demonstrate that the card should be clicked and dragged from its current column, and then released in a different column.

  1. Press Save

A screenshot demonstrating the location of the "Save Item(s)" button on the Command Strip of the Task Board page. The button has an icon of a floppy disk, and reads "Save 2 Items", as two items have been moved to new columns since the last save.

Changing the View

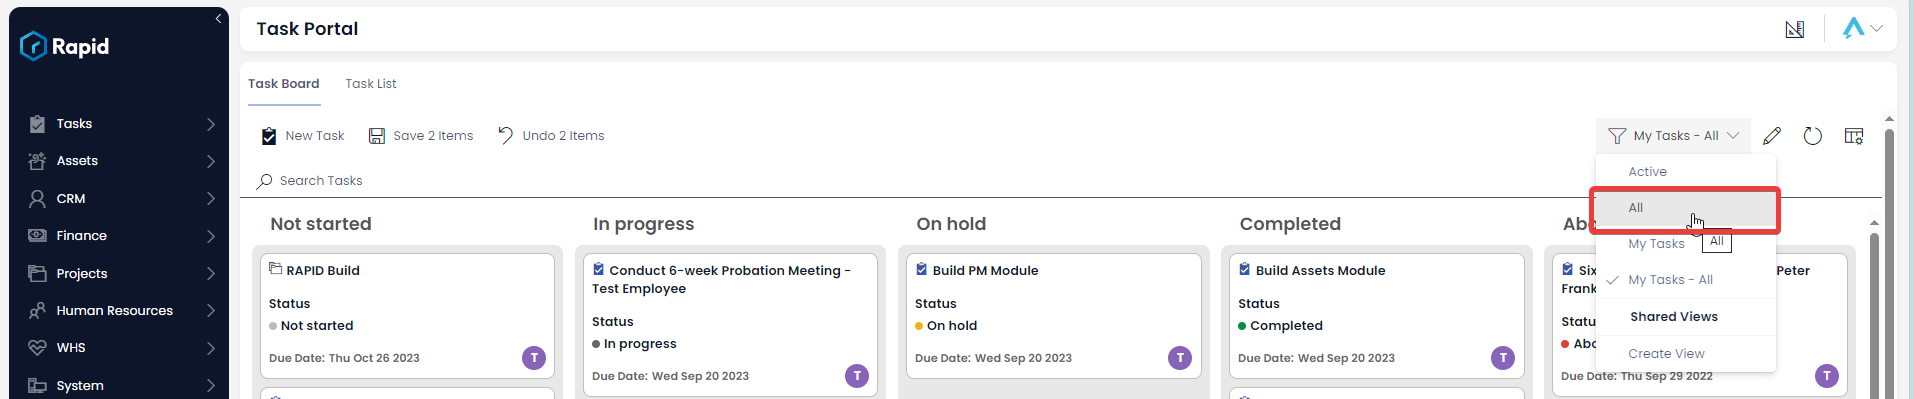
The default view on the Task Board is the “My Tasks – All” view which shows all tasks assigned to the user or a group the user is a part of. This view can be changed to the “All” view to show all tasks in the project irrespective of who it is assigned to. To do this follow the steps below.

  1. Click on the dropdown in the upper right corner above the task board which says “My Tasks – All”

A screenshot demonstrating the location of the Task Board view button. This is a drop-down menu button that will open a series of other views to choose from, as well as an option at the bottom that reads "Create View". In this example, the button has the title "My Tasks - All", as this is the current view selected. The button also has an icon of a filter. The screenshot is annotated with a red arrow and red box to highlight the location of the view button.

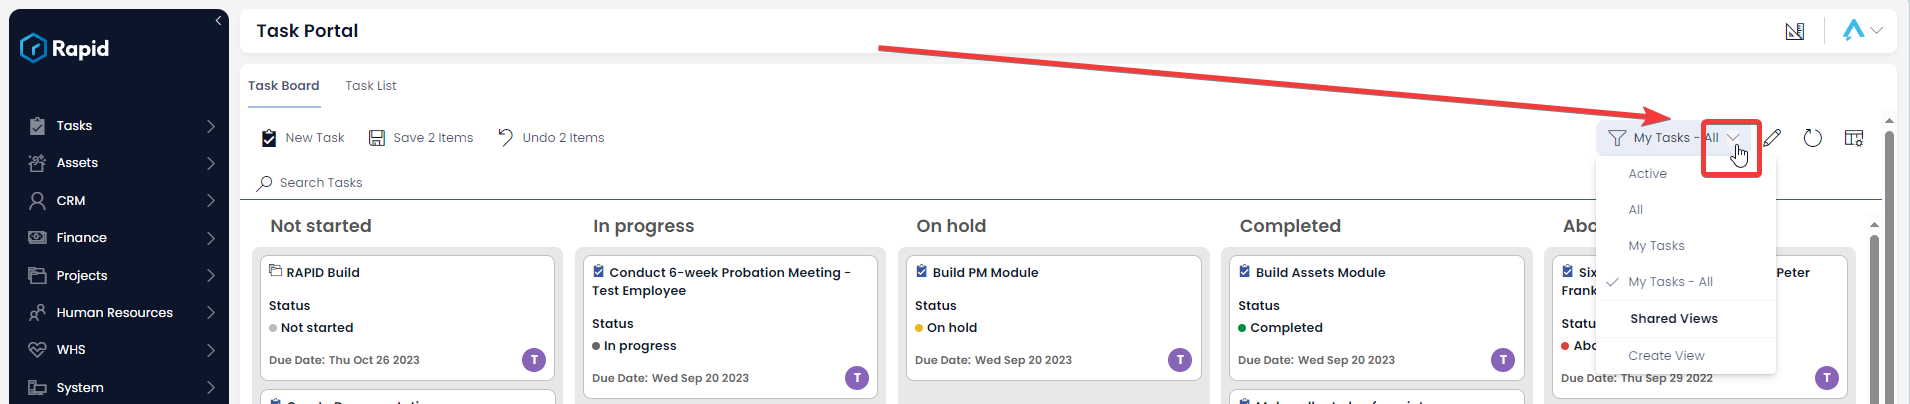
  1. From the list of view select the “All” view

A screenshot showing the user changing their view on the Task Board to the "All" view. The user's mouse is hovering over this option in the drop down menu. The screenshot is annotated with a red box to highlight which drop-down menu item is being selected.

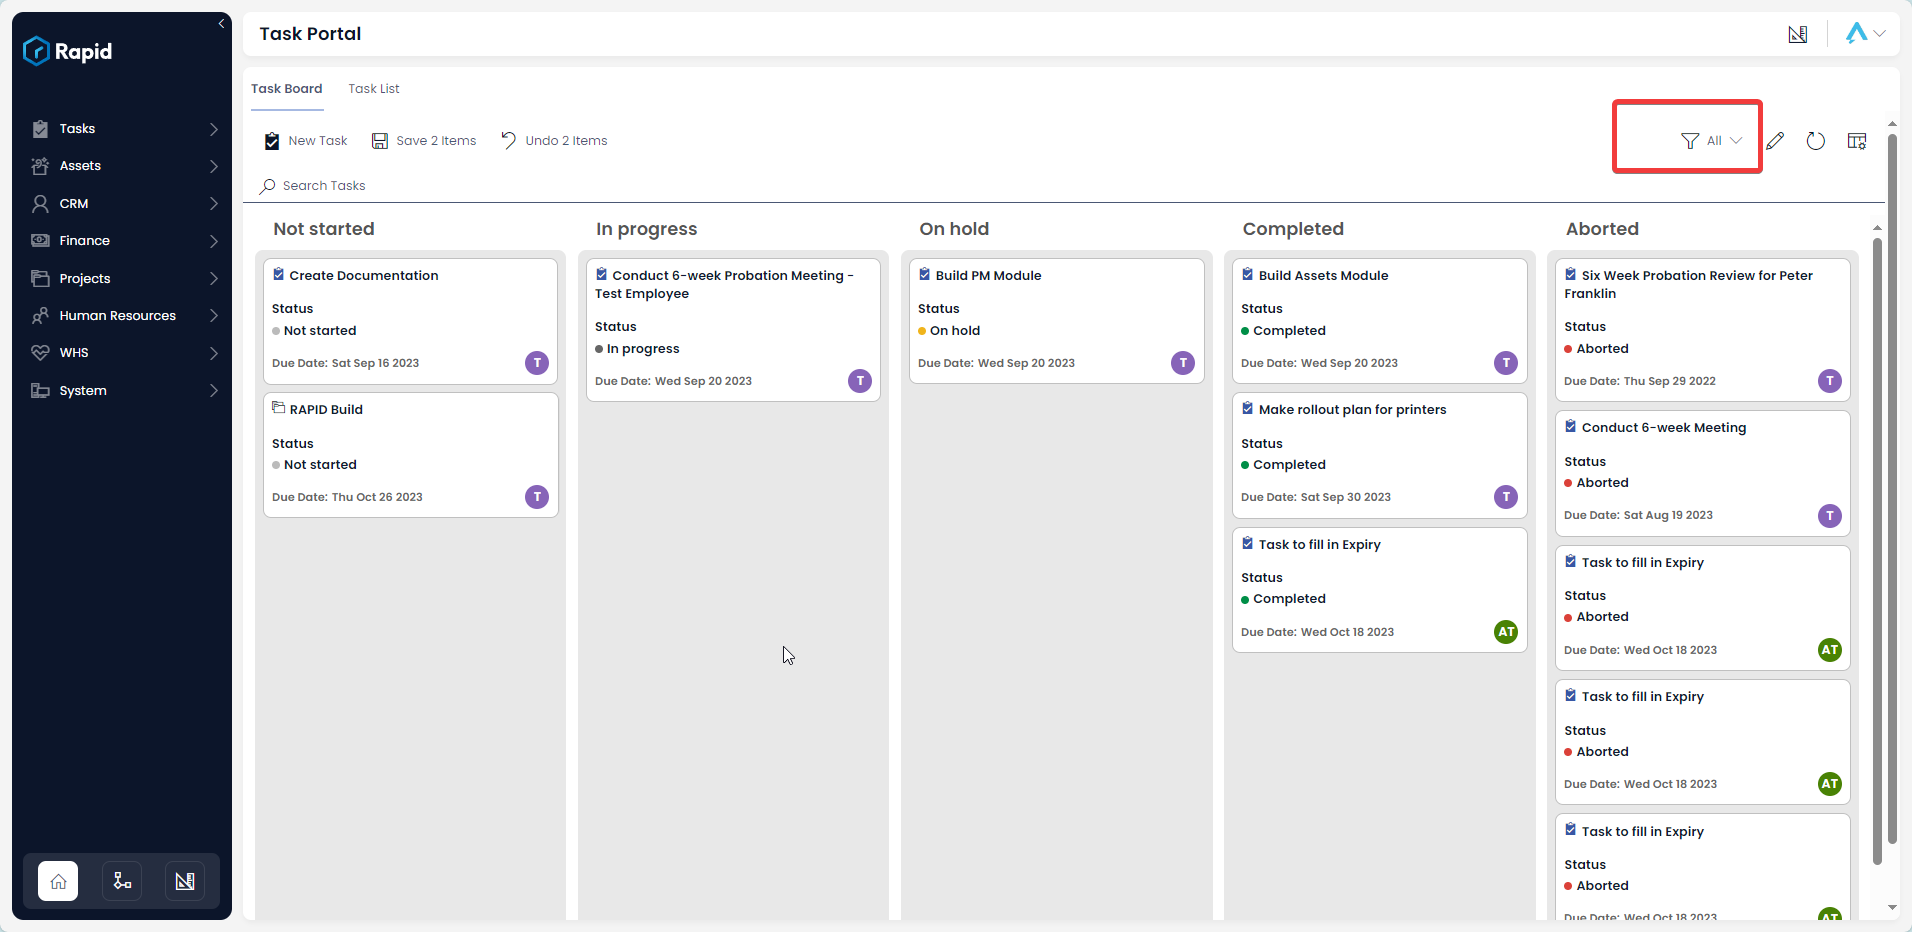
  1. The tasks board now shows all tasks in the project. The same steps can be used to revert the view back to “My Tasks – All”

A screenshot that shows how the Command Strip button for changing the view will now display the title of the view selected. The menu button now reads "All", as this was the new view that was selected. The screenshot is annotated with a red box to highlight the location of this menu button.

Editing a Task from the Task Board

  1. Open a Task by:
    • Double-clicking on the Task Card, or
    • Clicking on the title of the task you wish to edit

A screenshot demonstrating that cards can be double-clicked to open them. The screenshot shows a user's mouse hovering over a card that reads: Conduct 6-week Probation Meeting - Test Employee". The screenshot is annotated with red text that reads "Double Click" and an arrow pointing to the cursor. The cursor and the card are both annotated with red boxes to highlight their location.

  1. Edit any relevant fields on the item page as needed

A screenshot of the Task details page. The screenshot is annotated with a red box to highlight the fields that can be edited. These are: Title, Assigned To, Start Date, Due Date, Estimated Time, Status, parent, Rapid Form Link, and Description.

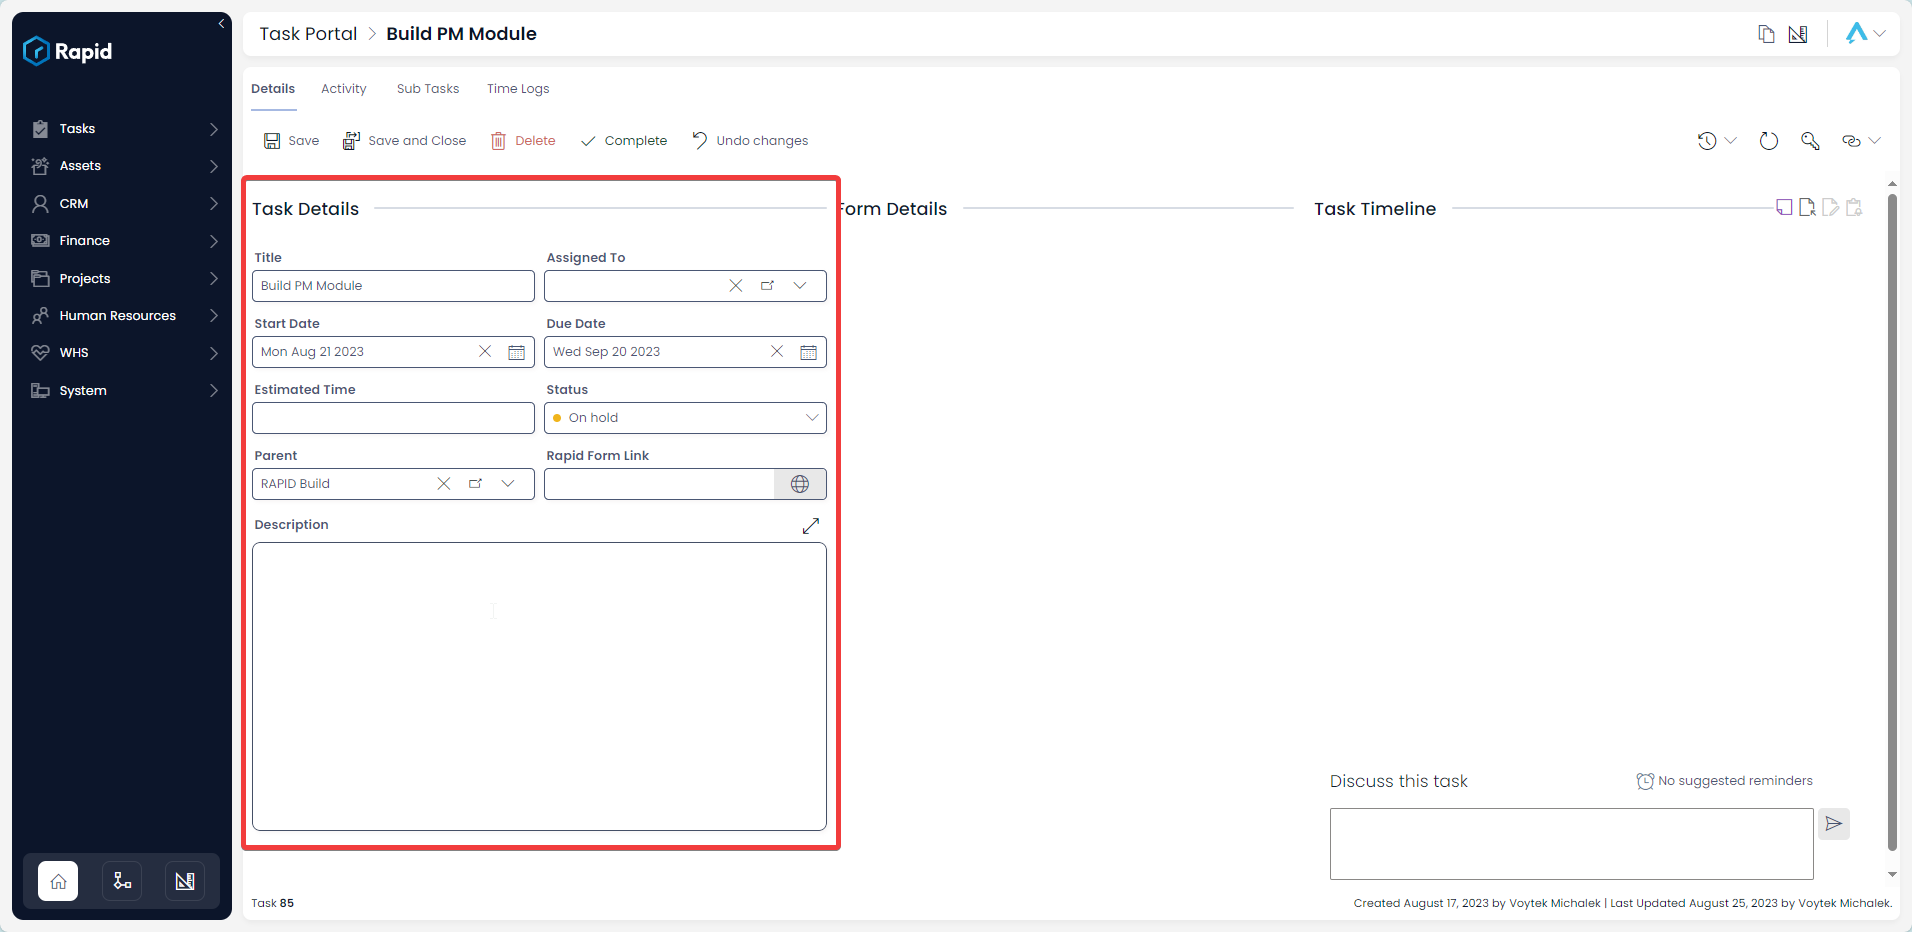
  1. Once you have finished editing, click on Save or Save and Close

A screenshot demonstrating the location and appearance of the "Save" and "Save and Close" buttons in the Command Strip of a Task item.